
Minerva Labyrinth
Building a Dungeon Crawler in Unity - Part I
[Edit: this post was originally going to be part of a series, but between the amount of time it took to write and Unity blowing itself up, I never ended up continuing it. Still, I'm leaving it up in case it's helpful to anyone.]
A while back I posted a devlog showing how I design levels on paper before building them in Unity. This time I thought I'd talk a bit about how I actually build them. I don't normally talk much about process or implementation, so this is an experiment. Let me know if you find it interesting, or if you'd like to hear about something specific.
First, a few qualifiers:
1) My process here is fairly quick-and-dirty, and favors implementation speed and exploiting the Unity workflow over high-quality visuals or retro authenticity. This is partly because of its origins in a game jam, but also because I'm a solo developer with minimal artistic skill, so I need to prioritize in order to get things done.
2) I won't go too much into technical details in this post. This is more about process and setting up a workflow, although I might talk more about implementation details later.
3) I definitely can't claim that this is the best, fastest, or easiest way to build a dungeon. This is just a work flow that I developed on my own that works pretty well for me.
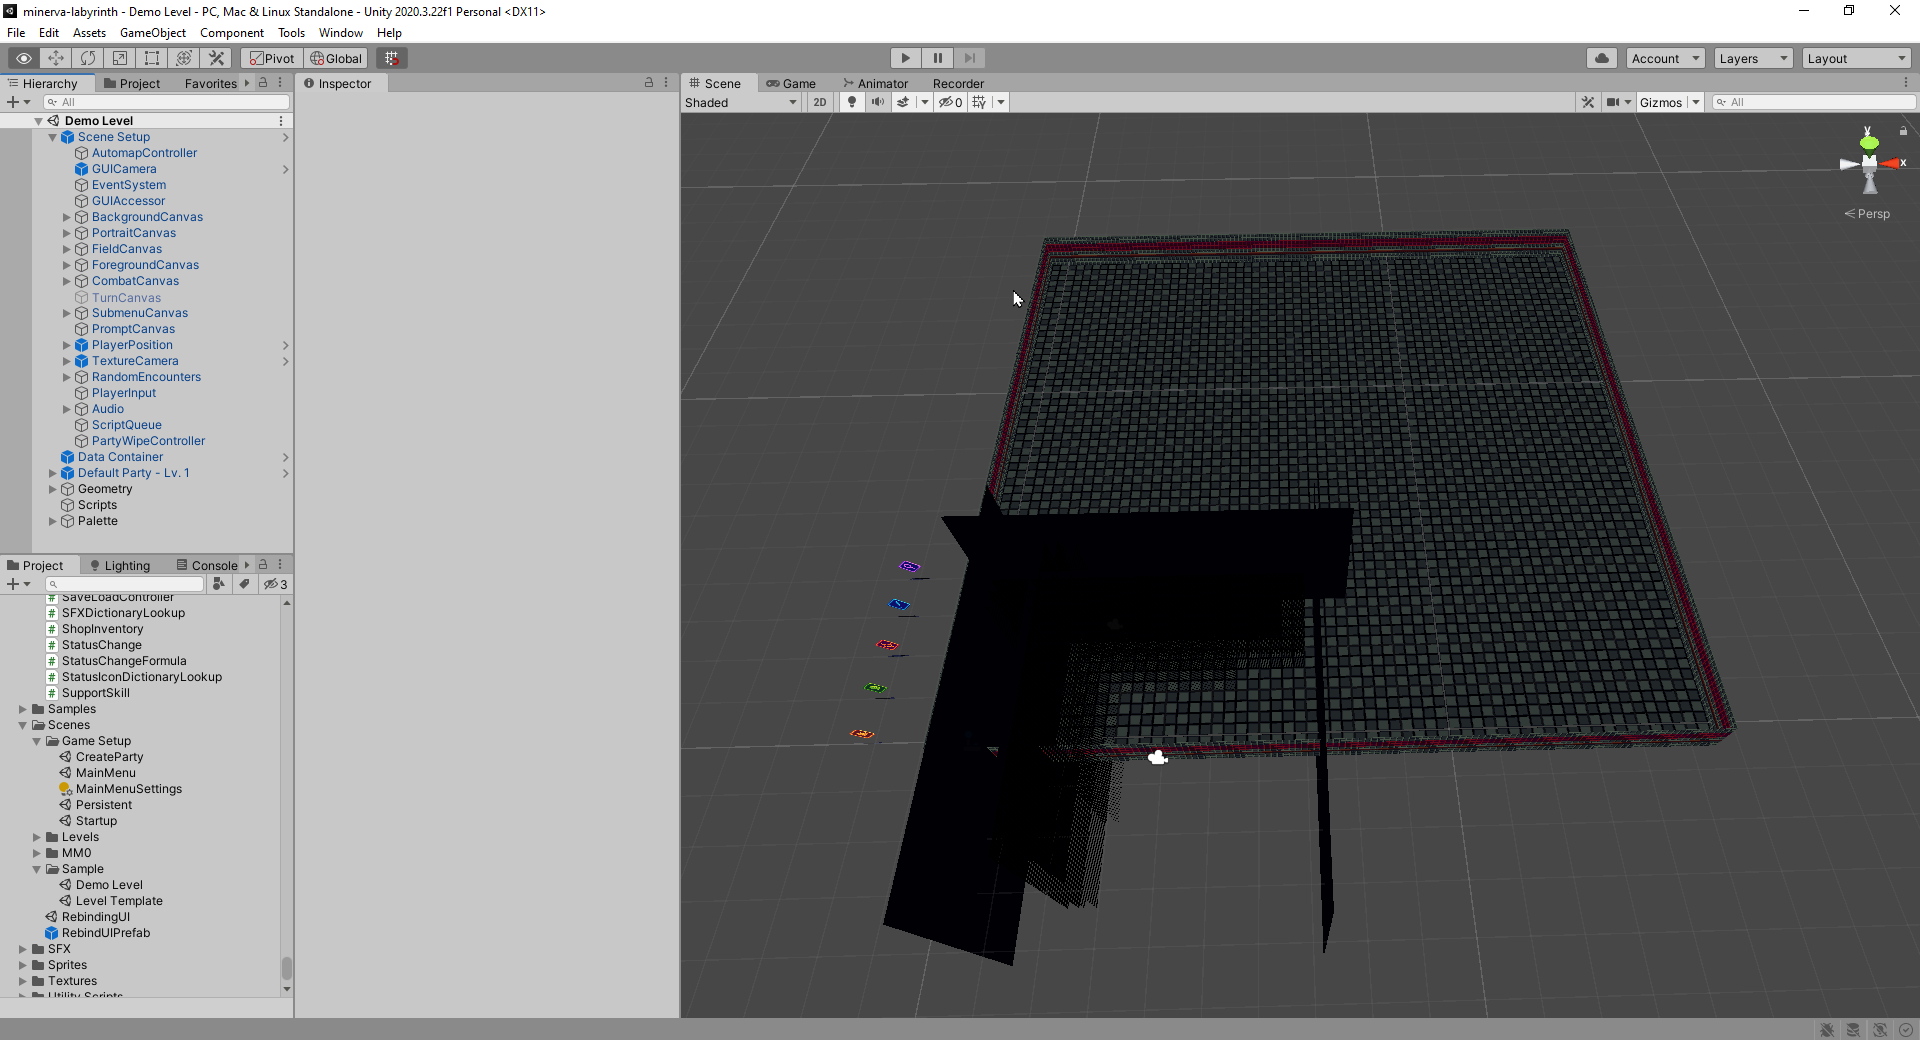
Whenever I start on a new level, I first make a duplicate of a special template scene that has everything that I need for a playable map. This template is just a Unity scene that I configured and saved specifically for that purpose, so that I can minimize the initial setup time for each map. Here's what a brand-new level looks like after being copied from the template scene:
So, what is all that stuff? First, on the right, we just have an empty level, which is 32x32 world units (an abstract measure of distance) in size. Each "tile" in the dungeon is 2x2 world units, so this means that we have a 16x16 map. We start with a ceiling (invisible from this perspective), a floor, and wall segments around the borders. The objects here are preconfigured with the subway textures, but we can change these to whatever we need. The black squares are the darkness effect surrounding the player's position; this moves with the player and gives the effect of a light source illuminating a dark area (I usually make this invisible in the editor view so that it doesn't get in my way). Finally, in the top left panel, we have all the GameObjects that the map needs to function. The most important is the prefab (basically a saved template for a GameObject, which in turn is just anything that exists in the scene) called Scene Setup. This contains all sorts of things like the GUI, the cameras, the player object, and a bunch of game logic controllers.
I won't get into what all that stuff does in this post; for now, the important point is that between the prefabs and the template scene that contains them, we already have everything pre-configured for the new map. However, I should briefly explain how movement works, since it ties into how walls and other obstacles work. Basically, when the player inputs a movement command, we need to do two things:
1) Cast a ray 2 world units in the desired direction to see if we hit a collider associated with a wall.
2) If we hit a collider, do nothing; we can't go that way. Otherwise, lock the player's movement controls and move along the indicated axis for 2 world units, then stop and snap the player's position to the center of the new square.
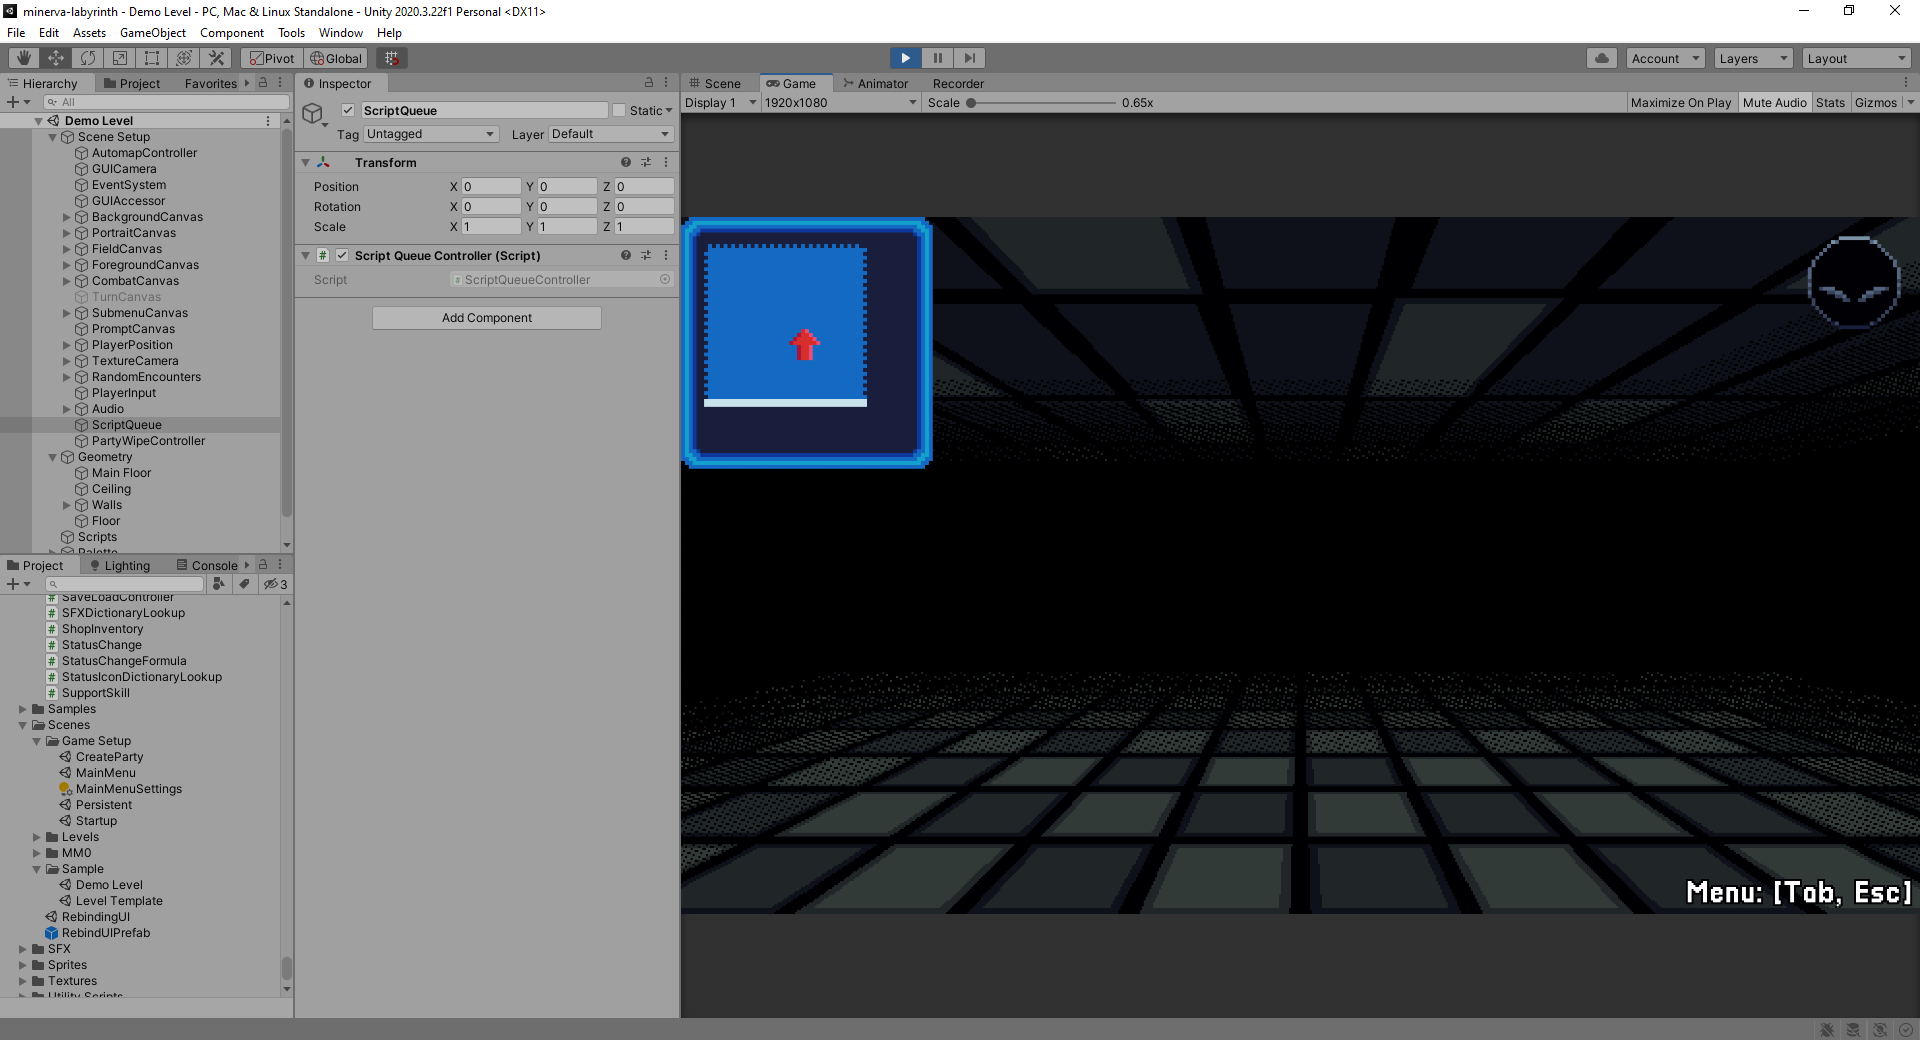
At this point, I haven't touched anything in the new scene, but I can already enter play mode and walk around.
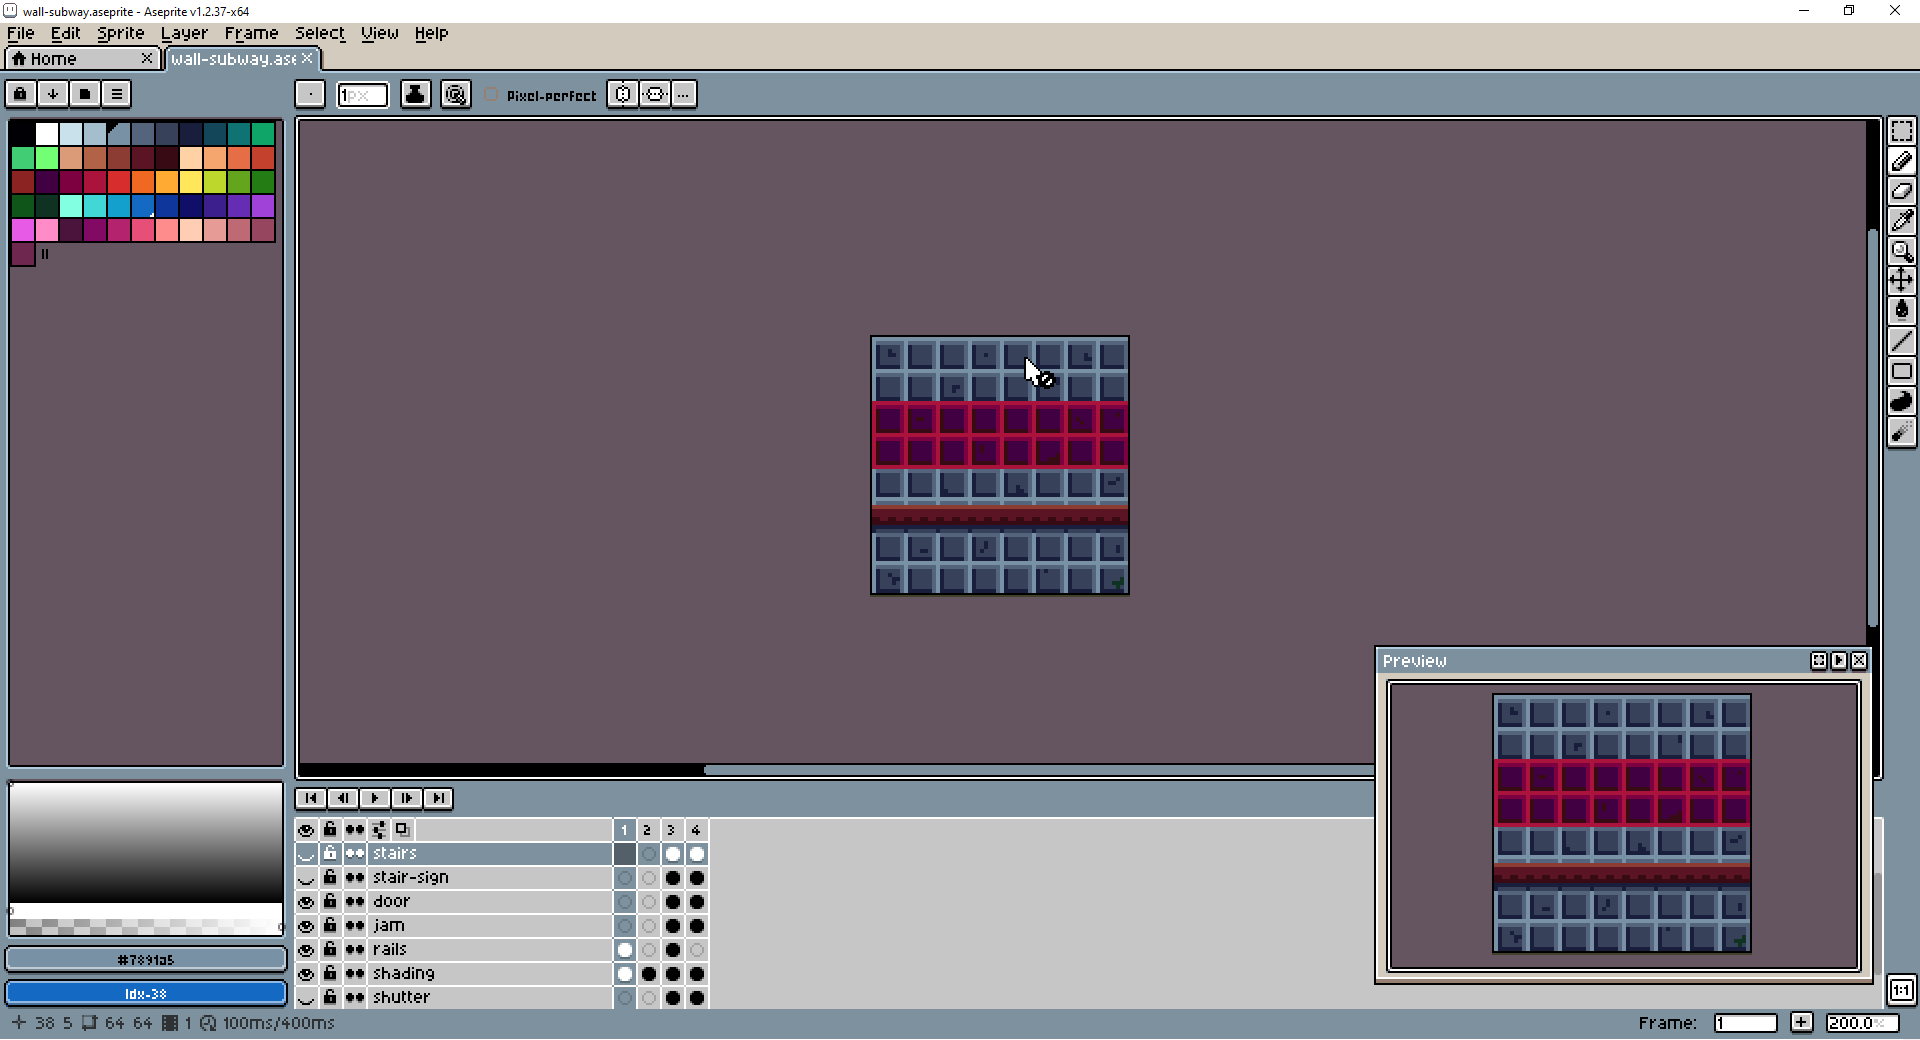
So how do we start building the level geometry? First, we need a wall texture. These are just 64x64 textures that I draw in Aseprite. I usually use one Aseprite file with multiple frames for a single wall set, which chiefly includes walls, archways, and doors.
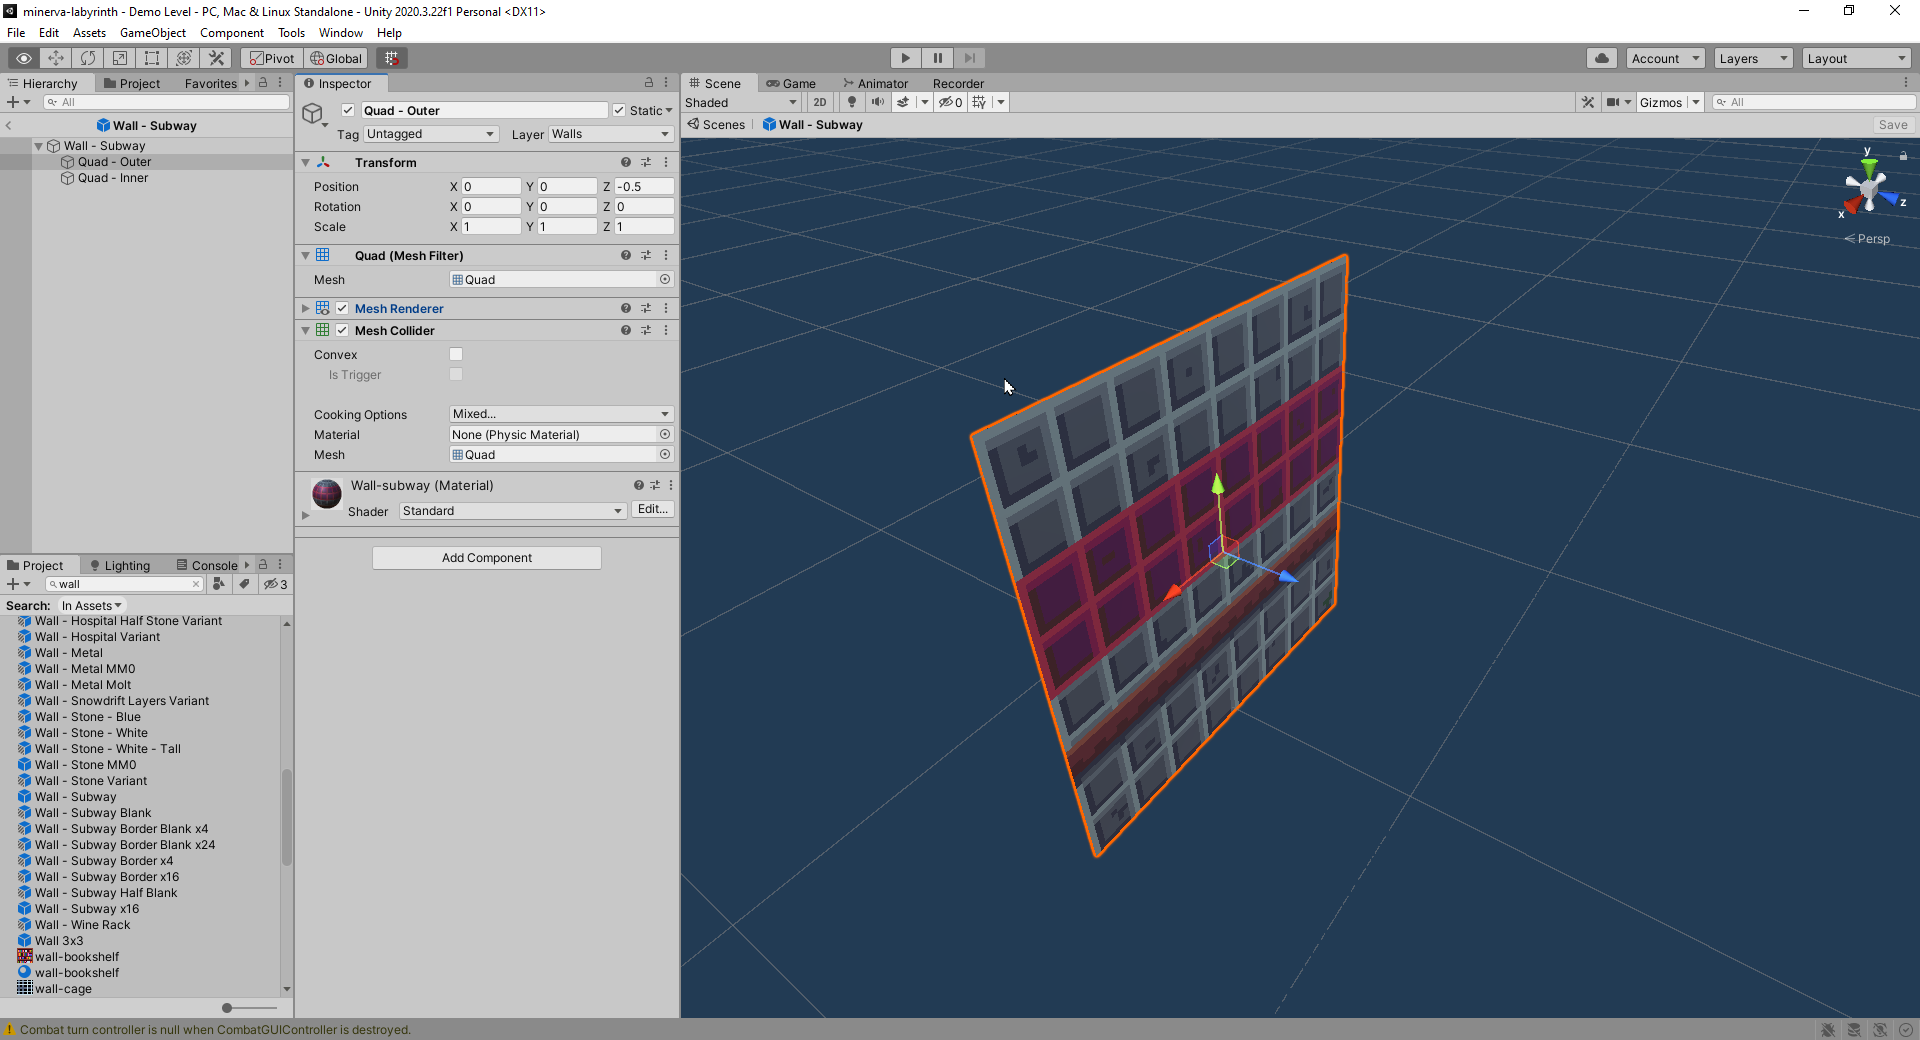
Now that we have a texture, we need an actual GameObject to represent the wall. I have a bunch of prefabs representing all the dungeon features I'll usually need. Here's what a basic wall prefab looks like:
So what are we looking at here? Each wall segment is an invisible GameObject containing a pair of 2x2 world unit quads (single-surface rectangles). The quads face opposite directions, and each is painted with a wall texture. Usually both quads use the same texture, but they don't have to - if they're different, the wall will have a different appearance on each side. Each quad also has a collider attached, which, as I mentioned before, is how the player object knows that it can't pass through. The quads are actually offset from the center of the object by 1 world unit, which will be important when we get to placing them on the map.
There are other wall prefabs for similar dungeon features, such as archways (which are purely decorative and can be passed freely), doors (which may obstruct the player's line of sight and/or require a key to pass), and false or one-way walls (which appear to be solid, but can be passed from one or both directions).
The same approach could be used with full 3D wall models as opposed to basic quads. However, if you wanted to reproduce the technique used in older dungeon crawlers of layering individual sprites on the screen to represent objects at different scales and perspectives, you would need to take an entirely different approach, and implementing smooth motion between steps would be additional work on top of that. I chose to use basic quads in order to minimize the work needed to create environmental art, as well as to take advantage of the Unity editor's built-in capabilities rather than building a separate content and display pipeline.
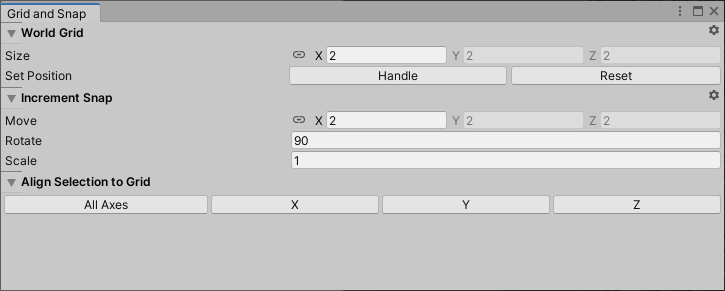
There's one more thing we need to do before we can get started, which is to set the Unity grid snap settings. Since one square of the dungeon is 2 world units and all of our walls are at 90 degree angles, we want to make sure the grid snap is set accordingly. When placing wall segments, we can then easily snap them into place one after the other.
Now, let's try building some walls. To build a simple room and passage, all we need to do is:
1) Drop our wall prefab into the scene editor.
2) Set the new object's position to align with the grid (1 for the Y vertical axis, any multiple of 2 for the X and Z horizontal axes).
3) Using keyboard shortcuts, we can repeatedly duplicate this wall segment and move or rotate it along the grid to the desired position and orientation. Remember I said that the walls are offset by 1 unit? This means that when we rotate the GameObject, we're not rotating the quads along their own Y axes; we're rotating them around the center of a circle that has a radius of 1 unit. This makes it super easy to reorient each copy of the wall without having to manually enter coordinates.
Using my grid paper design as a guide, I can generally lay down the basic geometry for an entire level very quickly. Here's what it looks like:
Note that these walls don't take up any real "space" in the dungeon; they do not obstruct where the player can stand, only in which directions they can move. This is a design decision usually called "razor walls." The other main paradigm for architecture is commonly called "worm tunnels" or "snake tunnels," meaning that each segment of wall occupies a physical block on the playable grid, rather than sitting between two blocks. I chose the razor wall approach for my games because it allows me to make denser, more compact mazes.
Now, we could go into much more detail about the many different dungeon features and how they work, but that's a quick rundown of my basic construction work flow. Please let me know if you'd like to see more of this sort of content.
Comments
Log in with itch.io to leave a comment.
Interesting, thanks. How did you create the "dark" light emanating from the player?
Hi, sorry for the delayed response. The dark effect is a group of quads arranged around the player with a dithering shader applied, and a solid black one at the furthest distance. When layered on top of each other, they create the effect of diminishing light. They move with the player, but do not rotate.
I tried using stock lighting effects for this, but it just didn't give the effect I wanted.
Great guide, Unity is definitely a step up for anyone without the basics. Your games are a great and you put in some great effort.
Thank you!
No probs man! You gave me great advice on my game. I hope you make more awesome adventures this year!